
Whirlpool has a series of refrigerators that come with water filters. These filters provide you with water that is free from several major water contaminants. However, for these filters to keep working properly, you will need to regularly replace and/or reset them.
To replace the filter, first, remove the cover and replace the old filter with a new one. Run four gallons of water through it for optimal performance. To reset the filter light, find the reset button on the control panel and press it until you see a color change or hear a beep. The control panel’s location depends on the type of refrigerator you have, whether it’s a French door or side-by-side model.
In this post, we will be discussing the steps you need to take to replace and reset whirlpool refrigerator filters for each of their models. We will also answer some frequently asked questions related to whirlpool refrigerator filters.
Let’s get started!
When Should You Replace Your Filter?
Before we delve into the specifics on how you can replace your whirlpool refrigerator filter, you should first make sure it actually needs replacing.
Whirlpool recommends that you change its refrigerator filter every six months.
Additionally, you should consider changing it if:
- The indicator light for replacement on the filter is glowing.
- The water flow has decreased.
- The water looks, feels or tastes different than normal.
What Model of Whirlpool Refrigerator Filter Do You Have?
Whirlpool refrigerators work with two different lines of water filters: the Whirlpool line, and the Everydrop line.
We have already covered the Everydrop line in this article here.
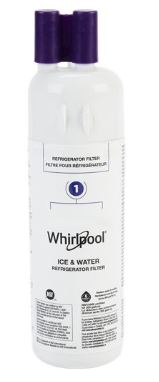
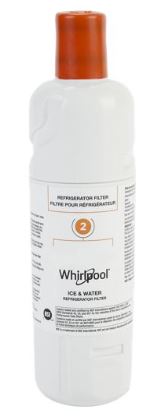
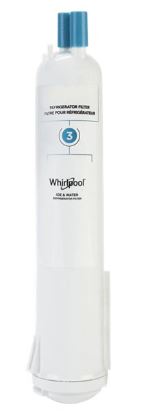
For the whirlpool line, there are four common models, simply named Whirlpool Refrigerator Water Filter 1, 2, 3 and 4.
If you do not know which filter model you have, you can find out using the Whirlpool website, where you can enter the model number of your refrigerator and the website will tell you the filter type you may have. This number is usually pasted as a sticker in one of the following locations:
- The ceiling of the fridge interior
- The inner walls of the fridge
- Behind fridge drawers
- On the back of the refrigerator
Once you know which model you have, you can move on to actually replacing the filter as follows.
Replacing Whirlpool Refrigerator Filters
Replacing Filter 1
Step 1: Find where the water filter cover is. This is usually in the upper right corner of the refrigerator on the inside, or in the base grille.
Step 2: Gently lift the cover/ filter door up. You should be able to see the main filter housing now.
Step 3: Remove the filter by gently pulling on it, and discard it safely.
Step 4: Open your new filter and remove the packaging. Make sure the O-rings are intact, or else the filter won’t properly fit and may leak.
Step 5: You will notice that there are notches and grooves on the filter as well as on the filter slot on your refrigerator. Carefully fit the filter in its slot. There should be an arrow in the filter to guide you; make sure this arrow is always pointing upward. This step does not require a lot of force, and trying to do it forcefully may damage the filter. Instead, gently shake and rotate the filter into place.
Step 6: Put the filter cover/door back on.
Step 7: Before using the filter, run at least 4 gallons of water through the filter first.
Step 8: Finally, reset the filter light. You will find the instructions on how to do this at the end of this post.
Replacing Filters 2 (and 4)

Step 1: Like with the water filter 1, you need to find the water filter cover first. It will be located in the right upper corner inside the refrigerator.
Step 2: Gently pull the cover off. You should be able to see the filter now.
Step 3: The next step is to remove the old filter. For this, grab the filter and gently pull it, so that the filter is angled downwards. Now, slowly rotate it towards the left and pull. It should slide off its slot. Once out, safely discard the old filter.
Step 4: Remove the coverings from the new filter, keeping the O-rings intact.
Step 5: Again, with the arrow pointing upward, place the filter into its slot. You will feel it begin to rotate. Turn it clockwise until you feel it lock in.
Step 6: Finally, put the filter cover back up and run four gallons of water through it.
Replacing filter 4 is very similar to replacing filter 2, and essentially involves the same steps. The only difference is that the filter slot may have a cap on when you install/replace it for the first time. You simply need to rotate the cap clockwise to pull it out.
Replacing Filter 3
Step 1: Find where the filter cover is. Usually, it should be on the left side of the refrigerator’s base grille.
Step 2: You will notice an eject button next to the cover. Press on it, which releases the filter.
Step 3: Pull the old filter out and discard it.
Step 4: Prepare the new filter for insertion by removing the packaging, making sure the O-rings are intact.
Step 5: You now need to place the filter cap on the filter cartridge. Make sure the ridges align, and rotate the cap clockwise to get a snug fit.
Step 6: Now, turning the arrow on the filter towards the LEFT, insert the new filter into its slot and gently push. When done well, the ‘Eject’ button should pop out on its own.
Step 7: Like with the other models, run 4 gallons of water through it to prepare it for drinking.
That’s it! You’re good to go!
Resetting The Filter Light
Even when you have replaced the water filter, the reset light will keep on glowing until you manually turn it off / reset it.
The specific steps to do so will depend on whether the fridge door is the French type or the side-by-side type.
For French Door Refrigerators
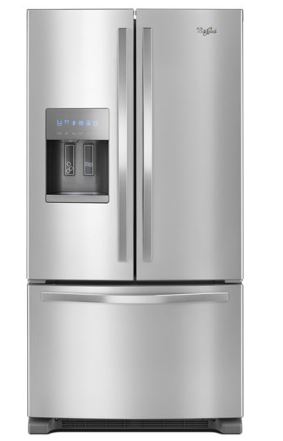
Step 1: Find where the water filter reset button is. For this, open the door and look at the ceiling of the interior of your fridge. You should find a control panel there.
Step 2: Now, make sure the water filter light is actually red or orange. If it is blue, you do not need to change the filter or reset the filter light.
Step 3: On the control panel, there is reset button. Press it for three seconds, or until you hear a distinct beep or chirping noise.
Step 4: Recheck the light to make sure it is no longer glowing red/orange.
For Side-By-Side Refrigerators
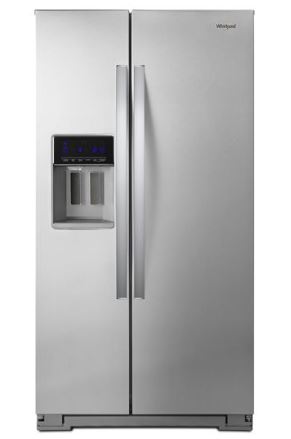
Step 1: Find the reset button. It should usually be located on the exterior of the refrigerator door, next to the filter outlet.
Step 2: Ensure that the light is actually red/orange before attempting to reset it.
Step 3: Press and hold the reset button until the light is no longer orange, and/or until you hear a beep/chirp.
Are Whirlpool Refrigerator Water Filters Effective?
Whirlpool refrigerator water filters use activated carbon from coconut shells to perform their filtering action. This involves advanced processes called particle filtration, micro-filtration and adsorption.
As a result, Whirlpool refrigerator filters are very effective. They are capable of removing up to 73 contaminants, including chlorine, mercury, pesticides and pharmaceuticals.
They are particularly effective at removing lead, reducing the lead content by up to 99.9% in both water and ice.